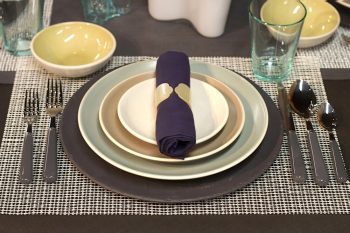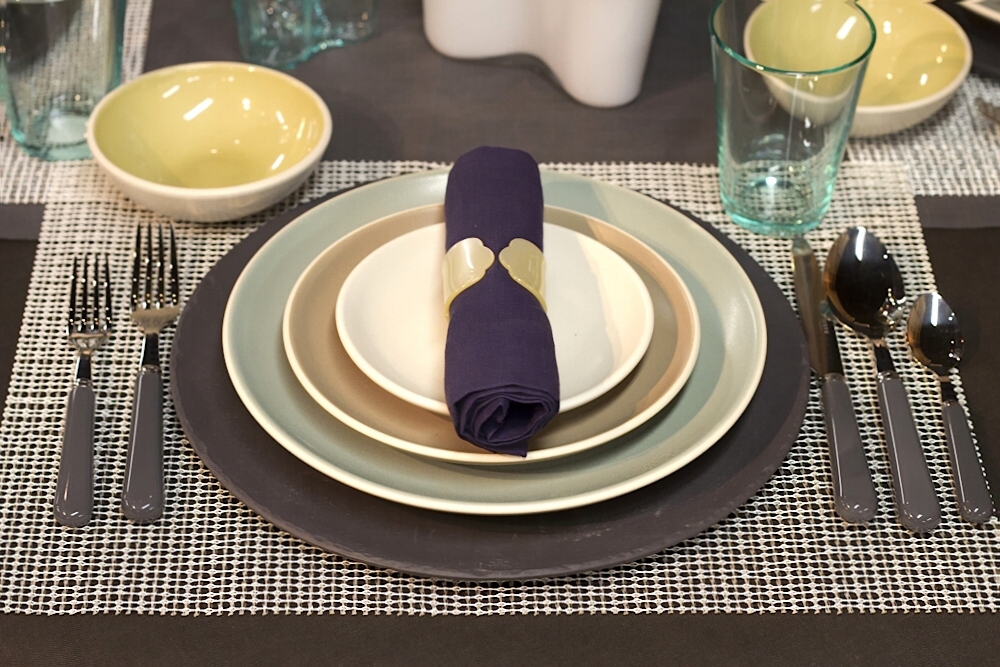
Here’s how to set a dinner table in one line: plate in the middle, forks on the left, knife and spoon on the right with the knife blade facing the plate, napkin to the left or on the plate, and glasses above the knife. Everything else, from bread plates to extra forks, is added only when the menu calls for it.
Holiday dinners tend to throw people because there’s more on the table: extra courses, wine, a centerpiece, and sometimes a separate table for the kids. The rules don’t change, though. They just stretch.
Use the checklists below to set a basic table, a formal one, and everything around it, from the buffet to the kids’ table.
Key takeaways
- Forks go left, knives and spoons go right, and knife blades always face the plate.
- Utensils are set in the order they’ll be used, working from the outside in.
- Glasses sit above the knife, arranged in the order you’ll drink from them.
- Keep the centerpiece low enough that guests can see each other across the table.
- On a buffet, don’t leave food out for more than two hours, and keep hot food at 140 °F or above.
The basic place setting checklist
The Emily Post Institute offers a simple memory aid for the everyday setting: FORKS. Reading left to right, that’s fork, plate (the O), knife and spoon. Work down this list for each seat.
- ☐ Dinner plate centered in front of the chair.
- ☐ Dinner fork to the left of the plate.
- ☐ Knife immediately to the right of the plate, blade facing in toward the plate.
- ☐ Spoon to the right of the knife, only if the meal needs one.
- ☐ Napkin to the left of the fork, or folded on the plate.
- ☐ Water glass above the knife, or at a 45-degree angle to its right.
A quick trick for the bread plate and glass: touch each thumb to its forefinger. Your left hand makes a lowercase b for bread, your right a d for drinks. The golden rule is to set only the utensils your menu actually needs. A spoon with nothing to spoon just confuses people.
Adding courses: the formal setting
A formal setting follows the same logic, just with more pieces. According to Emily Post’s guide to the formal place setting, utensils are placed from the outside in, following the order of courses, and no more than three of any implement go on the table at the start. Extra pieces arrive with their course.
Formal setting checklist
- ☐ Charger or service plate at the center, under the first course.
- ☐ Forks on the left in course order, with the dinner fork closest to the plate.
- ☐ Knives on the right, blades facing the plate, with the dinner knife closest.
- ☐ Soup spoon on the far right, outside the knives.
- ☐ Oyster fork, if serving oysters, on the right: the only fork that goes there.
- ☐ Bread plate above the forks, butter knife laid diagonally across it with the handle to the right.
- ☐ Dessert fork and spoon brought in with dessert, or set above the plate for a less formal meal.
- ☐ Place cards, if you’re using them.
| Element | Basic setting | Formal setting |
|---|---|---|
| Plates | Dinner plate | Charger plus a plate for each course |
| Forks | Dinner fork | Up to three, in course order |
| Knives and spoons | Knife, spoon if needed | Up to three knives; soup spoon outermost |
| Bread plate | Optional | Above the forks with butter knife |
| Glasses | Water glass | Water plus a glass for each wine |
| Dessert utensils | Brought with dessert | Brought on the dessert plate |
A well-set table isn’t about showing off your silverware. It tells every guest, without a word, what’s coming and in what order.
Glassware, napkins and the centerpiece
Glassware
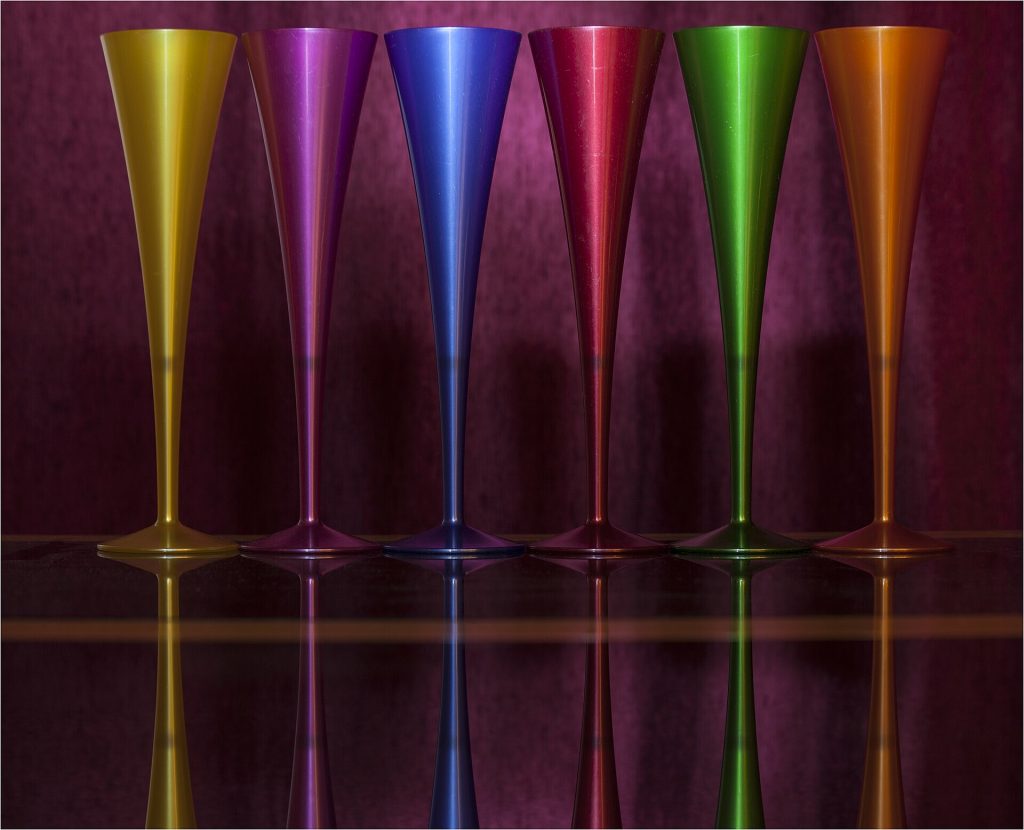
Glasses go above the knives and spoons and are placed in the order they’ll be used. In a formal setting, the water goblet sits directly above the knives, with wine glasses and a champagne flute for the toast arranged around it.
- ☐ Water glass directly above the dinner knife.
- ☐ Wine glasses to the right, in the order the wines are poured.
- ☐ A flute only if you’re toasting or serving sparkling wine.
- ☐ Coffee cups brought out after the meal, not preset.
Napkins
For a casual dinner, the napkin goes to the left of the forks or on the plate. For a formal table, center it on the charger. Tie it with a napkin ring if you like, but skip elaborate folds that guests have to take apart before they can eat.
The centerpiece
Emily Post’s Thanksgiving table advice is clear that guests need to be able to see each other. A tall arrangement limits conversation and makes the table feel divided. A practical test: sit down, and if you can’t see the face across from you, go lower.
- ☐ Low flowers, greenery, gourds or candles in a line down the middle.
- ☐ Unscented candles, so they don’t compete with the food.
- ☐ Space left for serving dishes if you’re passing food family-style.
Buffet or plated service
Your service style decides how much room the table has. Emily Post notes that a buffet or plated meal leaves more space for decoration, while family-style service, with dishes passed around the table, leaves less.
Plated dinner checklist
- ☐ Full place settings at each seat, matched to the courses you’re serving.
- ☐ Plates warmed or chilled to suit the course.
- ☐ Each course cleared before the next one arrives.
Buffet checklist
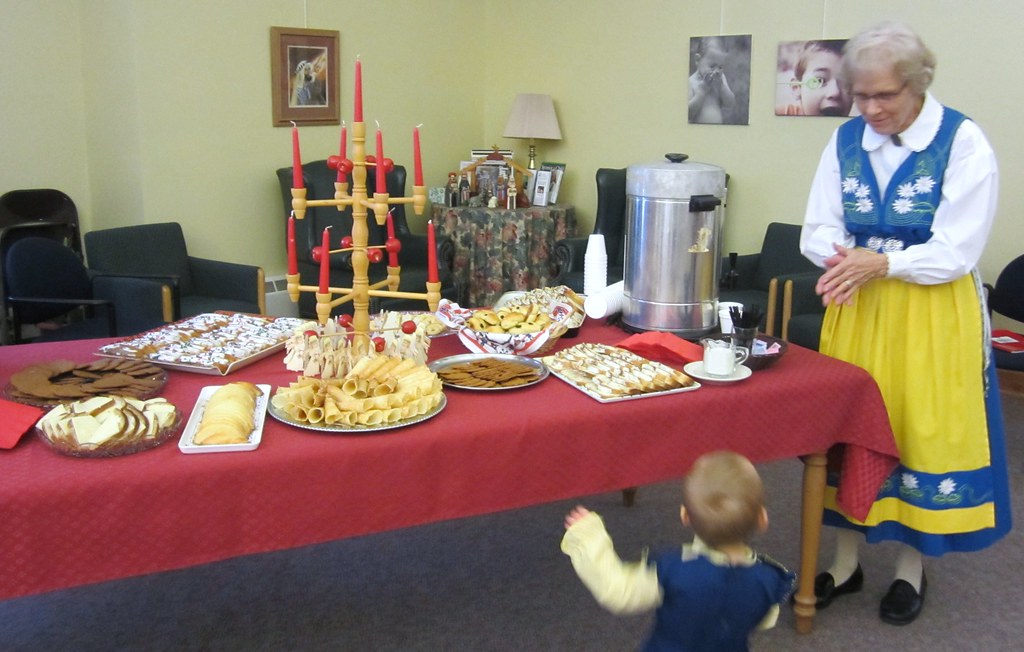
A buffet makes the dinner table itself simpler: a napkin, the flatware for the meal and glasses are usually enough, since guests collect plates at the buffet. The food safety rules matter more, though. The US Department of Agriculture advises that food shouldn’t sit at room temperature for more than two hours.
- ☐ Plates at the start of the buffet line, flatware and napkins at the end, or preset at the table.
- ☐ Hot dishes held at 140 °F or above in chafing dishes, warming trays or slow cookers.
- ☐ Cold dishes nested in bowls of ice.
- ☐ Empty platters replaced with fresh ones, never topped up.
- ☐ A serving utensil in every dish.
Setting up the kids’ table
A kids’ table works best when it’s a real table, set with the same care as the adults’ version, just simpler. Emily Post suggests giving children a job such as making or decorating the place cards, which gets them involved and helps them learn who’s coming.
- ☐ A basic setting: plate, fork, knife, spoon and napkin.
- ☐ Sturdy, unbreakable cups instead of stemware.
- ☐ Within sight of the main table so an adult can keep an eye on things.
- ☐ A washable tablecloth or placemats.
- ☐ Place cards made by the kids themselves.
- ☐ Something to do between courses, such as crayons on a paper runner.
For more ideas on hosting at home, browse our lifestyle guides or read up on planning a holiday dinner.
FAQ
Which side do the forks go on?
The left. Knives and spoons go on the right. The one exception is the oyster fork, which sits on the right.
Which way should the knife blade face?
Toward the plate, in every setting from casual to formal.
Where do the glasses go?
Above the knife on the right, arranged in the order you’ll drink from them, with the water glass directly above the knife.
How tall should a centerpiece be?
Low enough that seated guests can see each other across the table. If it blocks a face, it’s too tall.
How long can food stay out on a buffet?
The USDA says no more than two hours at room temperature. Keep hot food at 140 °F or above and replace empty platters rather than adding to them.
Set it the night before
Set one place the night before as a template, check it against the lists above, then copy it around the table. You’ll catch the missing spoons and mismatched glasses while there’s still time to fix them. If you’d rather leave the cooking to someone else this year, our restaurant directory and a refresher on table manners have you covered.
Featured photo: Table setting-01 by Dinner Series, BY 2.0.